Hey, party people!
I don't know where you are, but it is another gloomy, muggy day in New York. No worries though, because I have a new tutorial post to brighten your day. Yaaaayyy! I know. You are so excited :)
Today we go into the next phase of achieving a flawless makeup up look. If you are just now joining us, I posted about the other fundamentals of makeup including
brushes and their uses, and about how to get a
flawless foundation application (the rhymed! ha ha).
Now that the foundation is done, it is time to bring some life to your face again. A lot of times people try to achieve this with their foundation alone. This is a
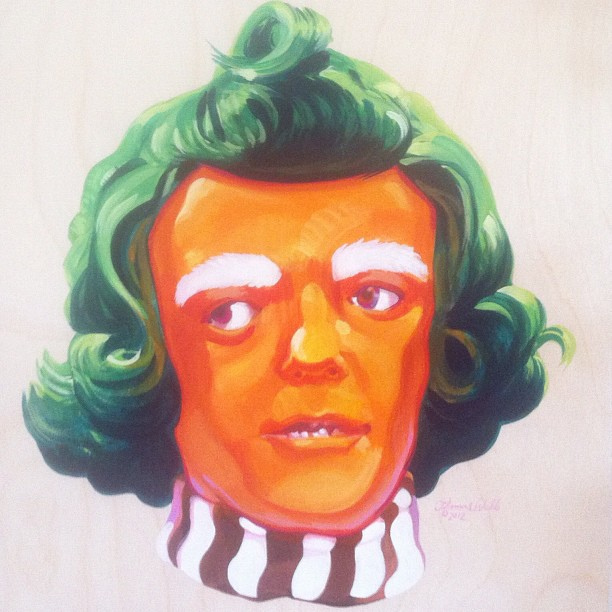
huge no no! By doing that, they tend to get a shade that is too dark/orange for them, making them look like oompa loompas.
Not cute, right? The foundation is meant to blank you out. It takes away all the imperfections, leaving your skin looking bare. This is good! The contouring, highlighting, and applying blush is what is going put some color and dimension back into your face. Before we get started I will go through what each thing is:
Contouring: A face shaping technique that defines the face. It also has slimming affects. So, for example, lets says you have a really wide nose, or want it to appear to be straighter. All you have to do is apply a contouring shade down the sides of the nose. The darkness of the contour shade will make your nose appear slimmer. Contouring shades are supposed to be darker than your natural skin tone. Think bronzer and darker matte face powders.
Highlighting: Highlighting works to bring out or lift a certain area of the face. I'll go with the nose example again. Now that the nose looks slimmer, you need something to balance it out. So apply a highlighting shade down the center of the nose. This will make you nose look more symmetrical and give the illusion that your nose has more height, making it look less wide. Feel me? Highlighting is done with shades lighter than your skin tone. It is done with light concealers or light shimmery colors.
Blusher: Now that you have made your face, so to speak lol, it is time to get some blood flowing. What I mean is blushing is blood flowing to a certain area. When a hot guys says hi to you, what happens? All the blood rushes to your face, right? Well with blush, you get that lovely rose-y color where you want it. Typically this goes on the apples of the cheeks or on the tops of your cheeks.
Now that you know what each thing does, let's put it into perspective with some pics :)
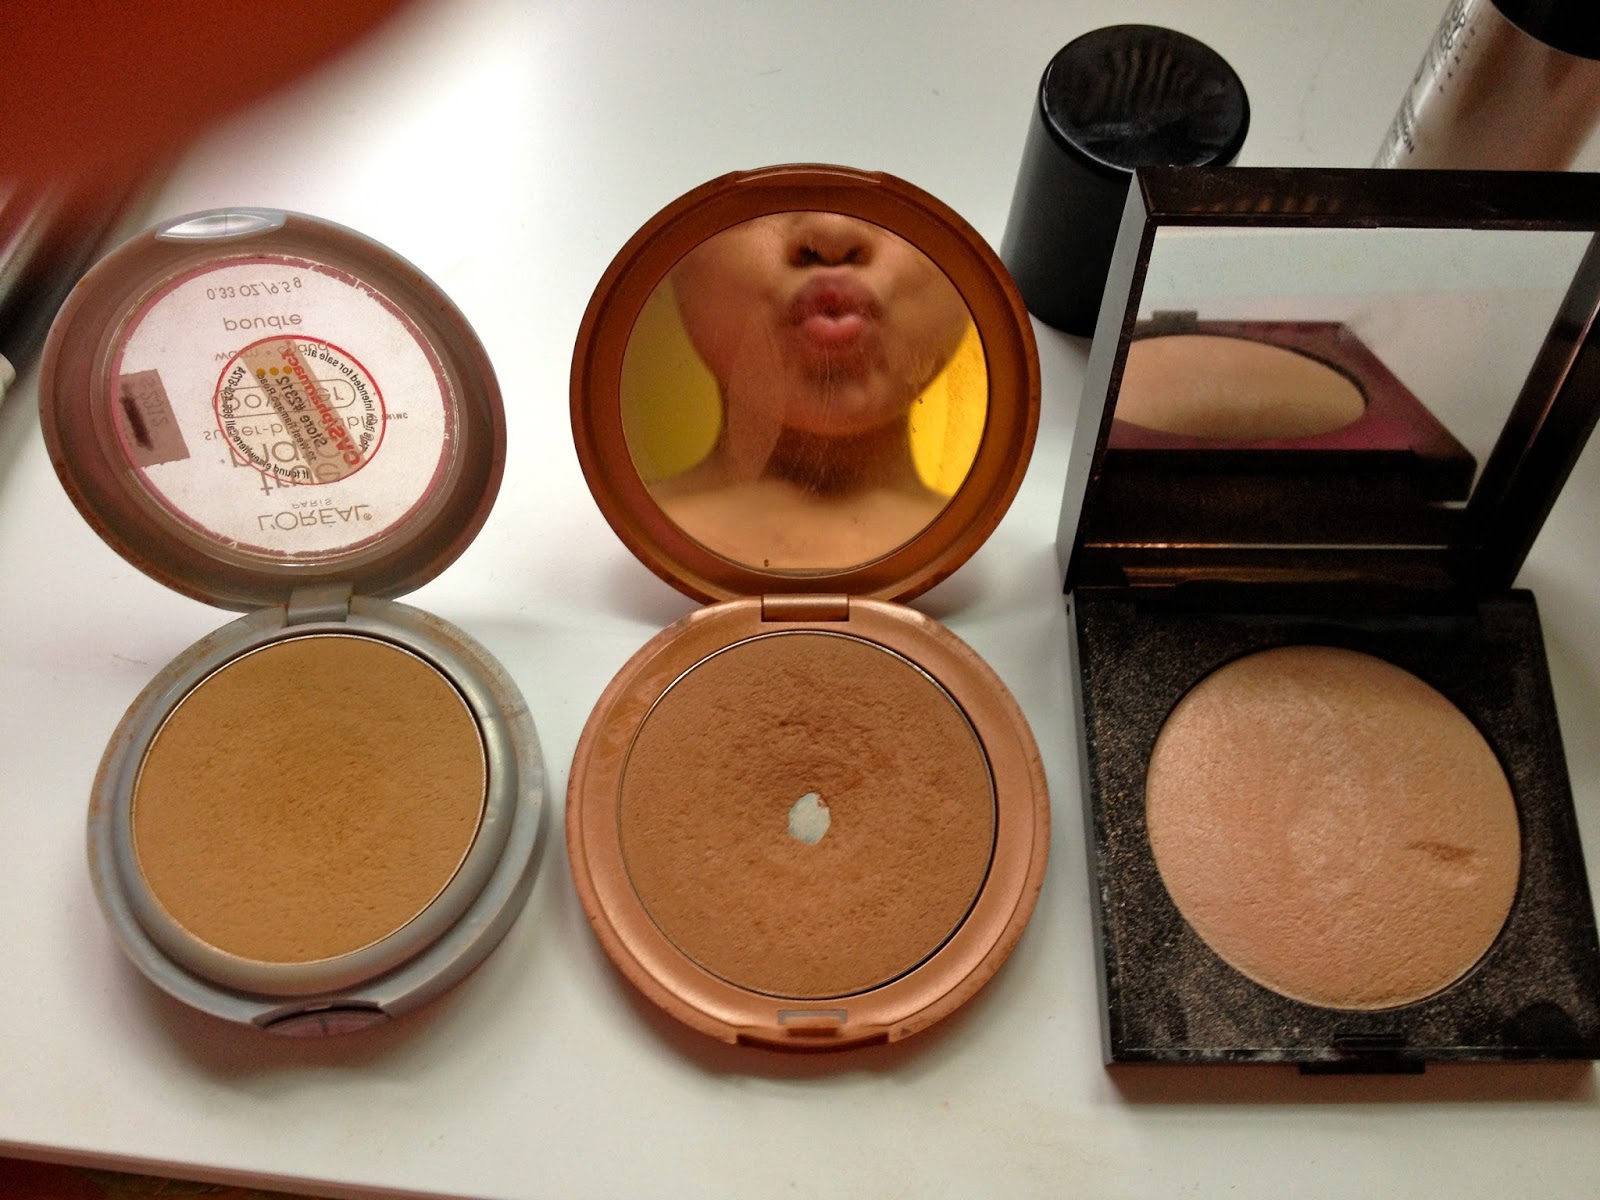
I use a matte brown face powder to contour. I have mentioned in a prior post that I used to use a bronzer, but switched to this because it looks more natural as a primary contouring shade. I say primary because I use like three things to contour. I know, I'm crazy :) The key to contouring is to make it look as natural as possible; blending, and building color as you go alone. Now, the placement of the contouring for the face should go from the top of your ear to about mid way to the corner of your mouth. As shown below:
Making a fishy face helps to make the hollow of your check bone more visible. This give you a clear placement.
The reason for this is to slenderize the face and define the cheekbones. In the picture below you can see how now I have this sort of shadow. That is what you want. I used my skinny angle brush to do this.
Now it is time to do the nose. I have a very wide nose towards the end, so this is a must for me lol. I take the same angle brush I just used and squeeze it thinner. Like so...
So that when I run it down the sides of my nose it won't leave a huge streak.
Now you see how the right side of my nose has a shadow and now looks slimmer. After I lay the color down I simply blend out with my finger of with a brush, depending on my mood ha ha.
I always like my cheekbones to look a little more defined, and I like a golden tan look so I add bronzer to the contour I made. I only do this on my cheeks though. Not my nose. I also go onto my temples with bronzer and blend it back into my hairline. This is where the sun will naturally hit you, so you end up looking naturally tan :) Also blending into the hairline is very important so you won't have any harsh lines left behind. To do this I use my Stilla bronzer in shade 2.
The next step is optional, but I think it really helps to blend the contour and make it look like part of my skin. I take a very light bronzer, this one is Maybelline in the shade 'Forever Warm', and a my fluffy brush to go over the places I contoured. It also helps to add more warmth to the skin. And again, I do not do this to my nose. I don't want to lose the definition I have there.
See how bronzy and defined my cheeks look?
We are almost done, guys! Hang in there. Highlighting is next. I use my beloved Laura Mercier highlight to do this. It is a light shimmer. These also come in liquid and will have the same effect.
With a skinny angles brush I simply apply that to the high points of my cheekbones...
...and down the center of my nose.
I also like to pop it on the cupids bow of my top lip. This will make your lips looks fuller.
Kiss me, baby!
As you might remember from my CVS experience the other I day, I got this Milani bakes blush in 'Luminoso'. I used this as my blush. I just took a small blush brush to pop that onto my cheeks.
I don't like to do it right on the center of my cheek, but more off onto the side and blend it with the bronzer a bit. Remember the key is to blend, blend blend. Its really the principle for all things makeup lol.
Just as the fishy face helps with contouring, smiling helps to find the apples of the cheeks.
Et, voila! See how my face now has shape? It is bright in the center and bronzed around the frame of my face. Contouring is really a beautiful thing :) And yes, I know I look a little cray because my eyebrows are not filled in, but you just wait. Eye brows are next!
Hope you guys are enjoying these posts :) Let me know how your faces are turning out.
Remember guys, don't be discouraged. Makeup is all about practicing and having fun. You got this!
Yours always,
Nicole xo.